 I am a traveller, a person who spents his money and spare time to leave home and see the world. That is why I am in need of a good Free Software navigation system. For IloveFS Day 2016 I like to thank all Free Software contributors and highlight my personal favorite OpenStreetMap-based navigation app: Osmand
For me, Osmand is the perfect match between simplicity and complexity. You can choose to use it for a simple map illustrator or as an offline navigation system including voice directions. Also, you can choose to see a simple map or show multiple layers to also see transportation systems, points of interests, hillshades, wikipedia entries and much more. Or you can enable a variety of plugins to customize your application or to enable advanced features. One of them is to edit and contribute to the source of OpenStreetMap.
Since this makes contributes anytime spontaneously to OpenStreetMap very easy, on #IloveFS, I like to thank the people behind Osmand by sharing a how-to add locations to OpenStreetMap with Android (or an Android custom-ROM). It is fun, easy and free.
This way I also hope to inspire other people to take their mobile once in a while and to map the world together.
Please note: this is an updated How to for Osmand version 2.2+. Please read my former Howto, if you run Osmand 2.0 or 2.1.
Installing Osmand~
Get F-Droid, the Free Software repository app. You can download the .apk directly from the home page and need to install it on your Android. If you encounter installation/permission problems, you most probably need to trust “unknown sources” first. Don’t panic : ) no harm involved.
F-Droid is an “alternative market place”, that only offers Free Software (as in Freedom). Others call it “Open Source”. For various reasons, Free Software is to be considered a good thing : )
Inside F-Droid, search for “Osmand”

and install “Osmand~”.
Don’t get confused by other apps : )

Get an account for OpenStreetMap
- Visit www.openstreetmap.org and go for -> “sign up”.
- Fill in the form – it’s free.
- After that, confirm your account and you are done
Welcome!
Enable editing OpenStreetMap inside Osmand~
I made a Screenshot-story below this paragraph. Telling it in textform and in a nutshell, you need to go to the menu (the button in bottom-left corner), go for settings (the gear wheel in the upper right corner). Now go for Plugins -> OSM editing -> Enable. After that go into the settings on the same page and fill in your OSM user name, your OSM password and check “Offline editing”.
Screenshot-story:
Show up the menu in the top left corner

Go for Plugins

Enable OSM editing

Again, go into settings

Fill in your Username + Password. If you like you can check “offline editing”. That means that you add your locations in offline mode first and later, at any point in time, you can decide to upload them. I usually check this box because I love mapping while I travel and due to roaming charges I am in offline mode anyway.

Adding a location
Now it’s time to do your first addition. choose a location that does not yet exist in OpenStreetmap but you see a non-described building. Or an already described building that is simply missing your information about the location. Usually it is some kind of business (Bar, Laundry, Post office, …), service (Agency, Administration, Church …) or public (Park, Station, …)
To add a location, find the explanation in Screenshots again:
OpenStreetMap is built on points and lines. All together they form areas like streets, buildings, countries and seas. Such areas can have meta information like a street name or a countrys name.
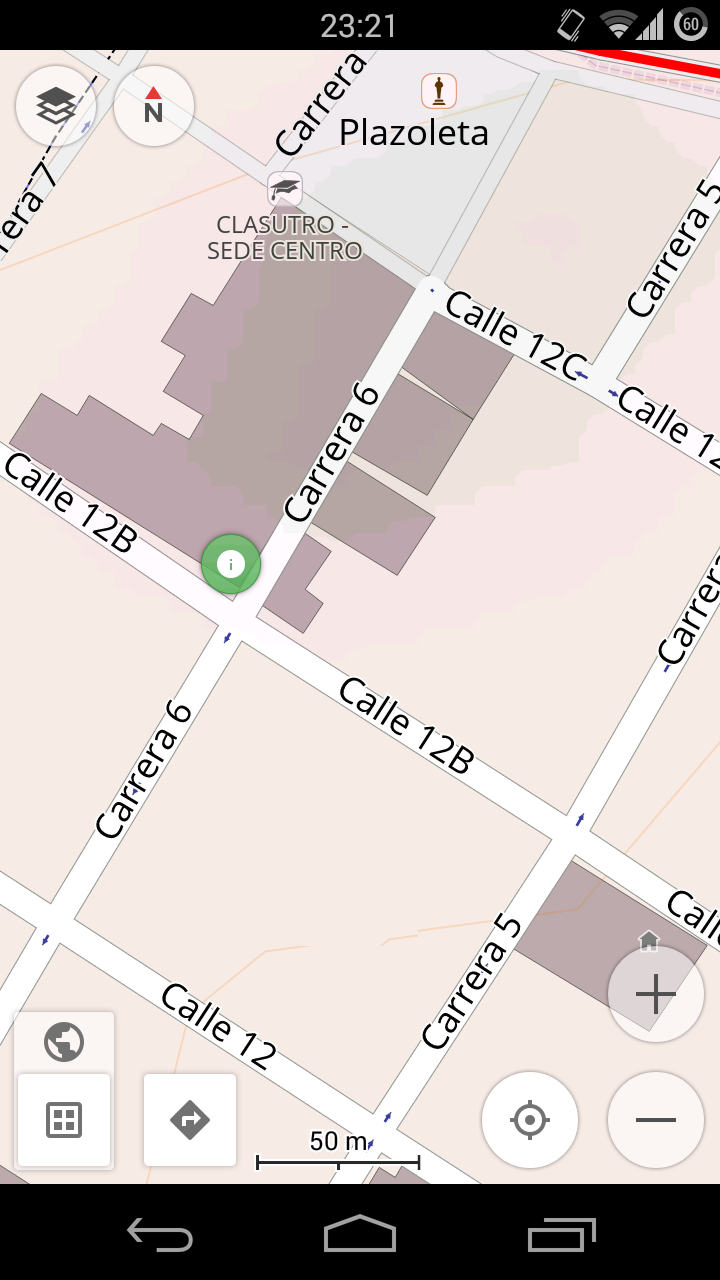
If you like to add any information on top of that (like a bar in building or a shop inside a building), you have to add additional meta information to a location. To add this information, you have to create a so called “point of interest” (in short: POI). To do so, long press the location you like add information to until you see the yellow pointer appearing. Pick this pointer and tap the three dots in the right corner at the bottom.

Now you see a context menu popping up. From here, choose “Create POI”

Another window will open to let you fill in all kinds of information about this POI. You always need to fill in a NAME and a CATEGORY or you will not be able to save the POI. You get suggestions for categories via typing and I suggest you choose one of them. All other information is not needed to create a POI but of course appreciated.

After saving you information, you see the yellow pointer on your newly created POI. Now, you can choose to save or to delete the content you just created.

If you have chosen to upload your locally saved POIs later, then after filling in the information and having saved the POI, you should see a green marker that shows your newly added POI. Else, it will be uploaded directly.
Later Uploading a location
Depending on your settings you directly upload your Point of interest or you have chosen to do so later. You can change it any time by checking/unchecking in Plugins -> OSM editing -> Settings -> Offline editing
I choose “Offline editing” to upload my content later. First, because I love mapping while I travel and often I resist to pay roaming service and I am in offline mode anyway. But also because I like to upload some points later at the same time. I can see them 5 minutes later appearing in my browser and I can improve or correct them if necessary.
Here is how to upload your locations:
Go to Plugins -> OSM editing -> Settings -> Locally saved OSM POIs/Notes

Here you see your recently marked POIs that are locally saved but not yet uploaded.

In case you have more than one, you can choose to either upload them entry by entry or in a whole with the upload-button in the bottom-left corner.


Hey, well done! Thank you for contributing. Go, check www.openstreetmap.org and see your places magically appear in the next minutes. Don’t forget to renew the page from time to time while waiting : )